
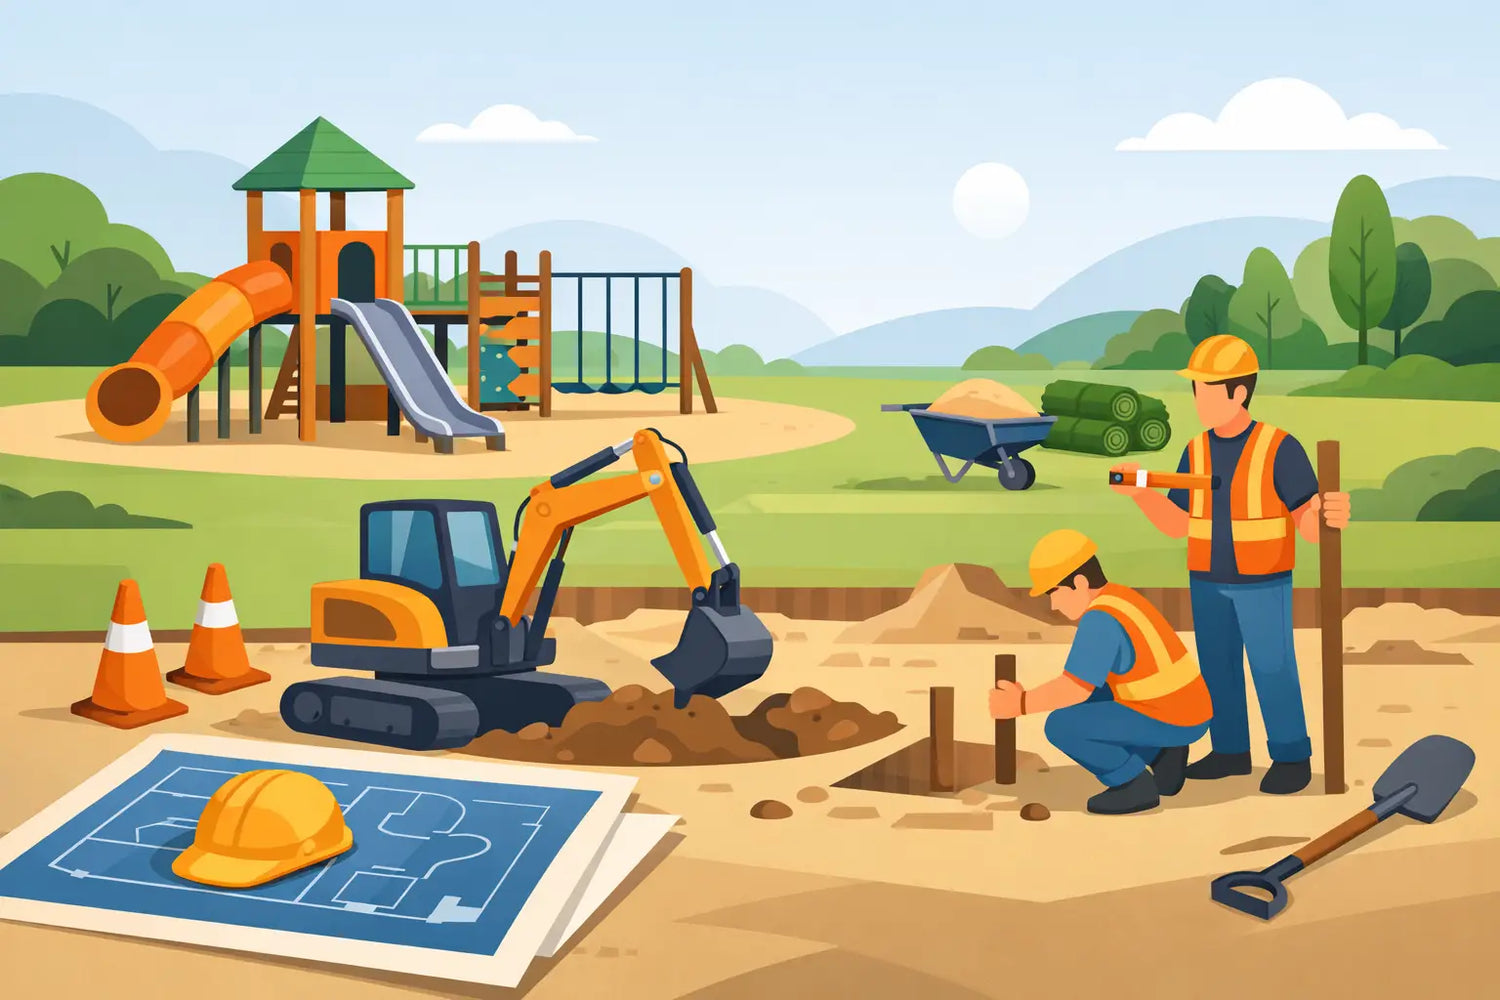
A premium playset can turn an ordinary backyard into the place your kids ask for every afternoon. But before installation day arrives, the work that happens around the playset matters just as much as the equipment itself. This playground installation preparation guide is built to help homeowners, schools, churches, and community buyers get the site ready the right way so the final result is safe, attractive, and built to last.
The biggest misconception is that installation starts when the crew unloads the first box. In reality, a successful project starts with the ground, the layout, and the details that are easy to overlook until they slow everything down. Good preparation protects your investment, helps the installation stay on schedule, and gives your family or visitors a better play experience from day one.
Why preparation matters before playground installation
When you invest in a high-quality playground, you are not just buying swings, slides, and climbing features. You are creating a long-term play space that needs to perform through years of weather, use, and seasonal changes. That means the site has to support the equipment properly.
A poorly prepared area can lead to avoidable problems. Uneven ground may affect leveling. Tight access can delay delivery. Inadequate drainage can create standing water under or around the structure. The wrong placement can also leave too little room for safe play zones. None of these issues mean a project cannot move forward, but they often add time, cost, or compromise.
For families across North Carolina, this matters even more because yards vary so much. Some properties are wide open and flat. Others include slopes, tree roots, fencing, irrigation lines, or soft ground after rain. The best installation results come from planning for those realities early.
Start with the right location
The first step in any playground installation preparation guide should be site selection. Where the playground sits affects safety, drainage, supervision, and long-term enjoyment.
Most homeowners want a location that is easy to see from inside the house or from a patio. That makes sense. Clear sightlines help parents supervise younger children and make the play area feel more connected to daily family life. For schools and churches, visibility also matters for staff oversight and traffic flow.
Space is equally important. Every playset or commercial structure needs clearance around it, not just room for the base footprint. Swings, slides, climbers, and exit zones all require open safety space. A playground that technically fits the yard may still be too close to a fence, tree line, retaining wall, or hardscape feature.
Shade can be a benefit, especially during North Carolina summers, but it depends on the site. A lightly shaded area may help keep surfaces more comfortable. Heavy tree cover, on the other hand, can mean more debris, more roots, and more moisture retention in the ground. It is not always a deal breaker, but it should be part of the planning conversation.
Measure more than once
One of the most common mistakes is measuring only the dimensions of the equipment itself. The better approach is to measure the full usable area, including required safety zones and installation access.
For residential customers, this means checking property lines, landscaping edges, fences, HVAC units, septic components, and any overhead obstructions. Tree branches are easy to forget until a tall clubhouse roof or swing beam is being assembled. For commercial buyers, measurements may also need to account for walkways, ADA access routes, curb lines, and nearby traffic patterns.
If your yard has an unusual shape, do not assume the widest section tells the whole story. Corners, slopes, and bottlenecks can all affect placement. A professional site review is often the fastest way to confirm what will work well without guesswork.
Ground conditions can change the whole project
A level-looking yard is not always truly level, and a dry-looking yard is not always well-drained. Ground conditions deserve careful attention because they affect installation quality and long-term stability.
Slopes are one of the first things to evaluate. Mild grading issues can sometimes be managed, but steeper slopes may require additional site work before installation. That could include leveling, excavation, or selecting a different part of the property. The right answer depends on the equipment, the amount of slope, and the desired finish.
Drainage is just as important. Low spots that hold water after storms can create muddy conditions, reduce surfacing performance, and shorten the life of the play area around the structure. In Eastern North Carolina, where rain and humidity are part of the landscape, this is not a small detail. If water tends to collect in the chosen location, it is better to address that before installation instead of after the first heavy downpour.
Roots, buried debris, soft soil, and irrigation systems can also complicate site readiness. If you know utilities, sprinkler lines, or drainage pipes run through the area, mark them early. That protects both your property and the installation process.
Prepare access for delivery and installation crews
A beautiful backyard does not always mean an easy installation route. Crews need a practical path to move materials, tools, and components from the delivery point to the final site.
In some homes, side-yard gates are wide and straightforward. In others, access may be tight because of fencing, landscaping, decorative stone borders, or grade changes. Commercial sites may have separate access concerns, such as locked service gates, limited vehicle paths, or restricted installation windows.
This part of the process is easy to underestimate. If a crew has to work around narrow entries, unstable ground, or unexpected obstacles, setup can take longer. In some cases, access limitations may even affect which equipment configuration makes the most sense for the site.
Before installation day, clear the route as much as possible. Move patio furniture, toys, yard tools, and other obstacles. Trim back anything that narrows the path. If pets use the area, make a plan to keep them safely away from the work zone.
Think through surfacing before the set goes in
Surfacing is not an extra detail. It is part of the safety system. Whether you are planning a backyard playset or a larger institutional playground, the surface under and around the equipment should match the level of use, the height of the structure, and the maintenance expectations for the site.
Some families prefer loose-fill options because they are cost-effective and familiar. Others want a more finished, lower-maintenance look. Commercial buyers often need surfacing solutions that meet accessibility and compliance requirements. There is no one-size-fits-all answer, which is why this decision should happen before installation instead of becoming an afterthought.
The right surfacing choice depends on budget, site conditions, appearance goals, and how heavily the area will be used. A premium play system deserves a surface that supports both safety and presentation.
Check local rules and property considerations
Not every project requires the same approvals, but it is wise to verify local requirements before your installation date is scheduled. Depending on the property and the type of structure, setbacks, HOA guidelines, or municipal rules may apply.
This is especially true for schools, churches, childcare centers, and community sites, where approval chains can be longer and documentation may be required. Even for residential installations, neighborhood covenants or lot restrictions can affect placement.
If your project is part of a larger backyard improvement plan, make sure the playground coordinates with future patios, pools, fencing, or landscaping work. It is much easier to design the yard around a clear long-term plan than to reposition finished features later.
Timing matters more than most buyers expect
The best installation dates are not always the first available ones. Ground moisture, weather patterns, school calendars, and family schedules all affect how smoothly a project comes together.
Spring and early summer are popular for obvious reasons, but that demand can make planning ahead especially valuable. Fall can also be a smart time to install, giving families a ready-to-use play area before the next busy season. For institutions, scheduling around breaks or low-traffic periods often makes the process easier.
It also helps to leave a little flexibility. Weather delays happen. Site prep can reveal hidden issues. A realistic schedule is better than a rushed one, especially when safety and finish quality are part of the investment.
A practical playground installation preparation guide for final checks
By the time installation day is close, the goal is simple: no surprises. The site should be measured, accessible, reasonably level, and ready for the chosen surfacing plan. Utilities and irrigation lines should be identified. Any approval questions should already be resolved.
This is where professional guidance makes a real difference. Experienced installers know what to look for before the first piece is assembled, and they can often spot issues that are easy for property owners to miss. For buyers investing in premium outdoor play equipment, that expertise is part of what protects the purchase.
At Rainbow Play of NC, many customers want exactly that kind of confidence - a play system that looks great, performs well, and is set up correctly the first time. The preparation stage is how you get there.
A great playground starts before the first post goes into place. When the site is planned with care, installation day feels less like a construction project and more like the beginning of years of outdoor fun.