
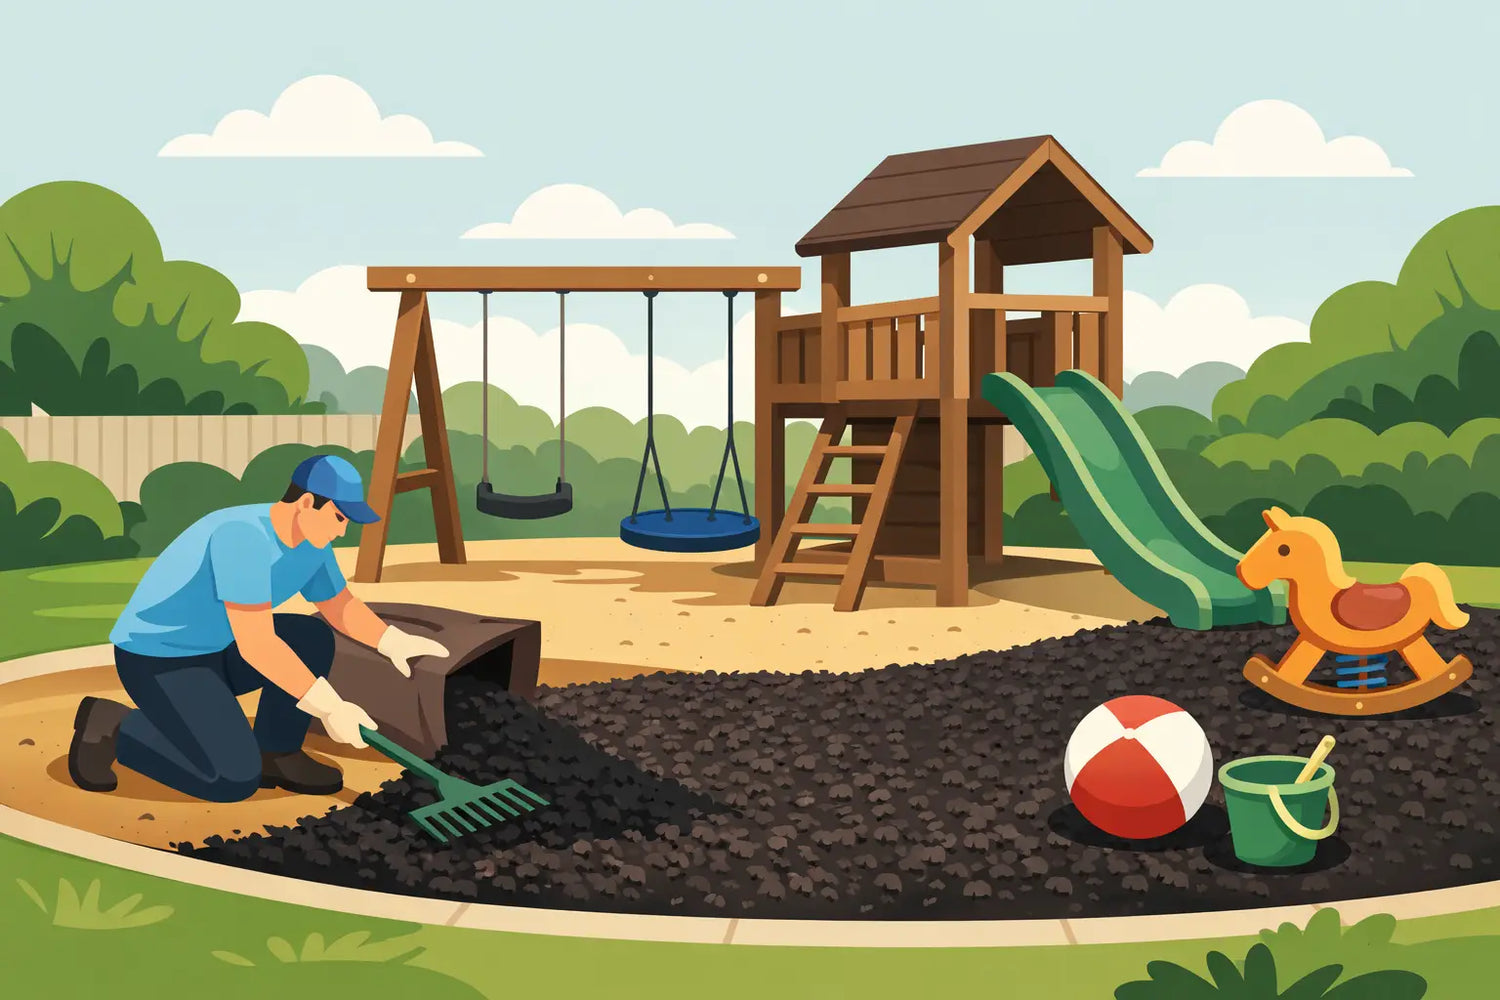
A fresh layer of rubber mulch can make a backyard play area look finished in an afternoon, but the work underneath it determines whether it stays clean, cushioned, and contained. When parents ask how to install rubber mulch, the most useful answer is not simply “spread it out.” A dependable installation starts with the right depth, firm edging, drainage planning, and a realistic understanding of what the surface needs to do beneath active kids.
Rubber mulch is popular around swing sets, play systems, landscaping beds, and other high-use outdoor spaces because it does not decompose like wood mulch. It retains its color, resists insects, and does not need frequent replacement. For a play area, however, appearance is only one part of the decision. The surface depth and the complete installation method must match your equipment, the site, and the level of impact protection you need.
Start With the Right Rubber Mulch Plan
Before ordering material, measure the entire area that will receive mulch. Include the space around the playset, not just the footprint of the equipment. Swings, slides, climbing areas, and monkey bars all need a clear use zone where children may land or run.
For decorative beds, rubber mulch is commonly installed at 2 to 3 inches deep. Play areas often require a deeper loose-fill surface, but there is no universal depth that guarantees fall protection. Follow the rubber mulch manufacturer’s installation chart and your playset manufacturer’s recommended use zone. If you are creating a surface under equipment with meaningful fall heights, choose a tested playground surfacing system and confirm that its installed depth is appropriate for that equipment.
To estimate how much material you need, multiply the length by the width of the area, then multiply by the desired depth in feet. For example, a 20-by-20-foot play area at 4 inches deep requires about 133 cubic feet of mulch before allowing for settling, leveling, and small gaps. Ordering roughly 10 percent extra is usually wise, especially for irregularly shaped spaces.
Prepare the Site Before You Spread Anything
A level, well-defined site makes the finished play area safer and much easier to maintain. Begin by removing grass, roots, rocks, old mulch, and construction debris. Do not install rubber mulch over an uneven lawn and expect it to stay level. The material will follow every bump and low spot beneath it.
Grade the ground so water moves gently away from the house and does not collect beneath the playset. North Carolina’s heavy summer rain can expose poor drainage quickly. A slight slope is helpful, but avoid creating a steep pitch that allows loose-fill material to migrate to one side of the play area.
After grading, compact the soil enough to create a stable base. You are not trying to create a hard, paved surface. You are creating an even foundation that will not rut under feet, ladders, or playset supports. Check the site with a long straight board or level, paying close attention to areas under swings and at the bottom of slides.
Consider a Barrier Carefully
A permeable landscape fabric can help separate the mulch from soil and limit weed growth in many backyard applications. It should allow water to pass through and be installed flat, with overlaps secured so edges do not work their way upward.
Do not use plastic sheeting beneath a play surface. It can trap water and create drainage problems. Also, if you are installing a commercial or certified playground surfacing system, follow that system’s specifications rather than adding a barrier on your own. The layers beneath loose-fill surfacing affect drainage, maintenance, and performance.
Install Edging That Can Hold the Depth
Edging is not a decorative afterthought. It is what keeps rubber mulch in the play area when children run, kick, drag toys, and jump off the last rung of a ladder. The top of the border should sit high enough to contain the full installed mulch depth while still allowing convenient access for mowing, strollers, and play.
For a residential project, sturdy composite, plastic, metal, wood, or playground-grade border systems can work well when properly anchored. Wood timbers offer a substantial look around larger playsets, while flexible edging may suit curved landscaping beds. Whatever material you choose, avoid sharp corners, exposed fasteners, or protrusions near the play zone.
Install the edging before the mulch. Set it level, secure it firmly, and check that water still has a path out of the area. If the site has a gate or entry point, plan a transition that keeps mulch contained without creating a trip hazard.
How to Install Rubber Mulch Evenly
Once the base and edging are ready, place bags or bulk piles around the perimeter instead of dropping all the material in one large heap. This reduces the amount of dragging and makes it easier to distribute mulch evenly.
Open the bags and spread the rubber mulch with a landscape rake. Work in small sections, pulling material from the edges toward the center. A flat shovel can help move larger amounts, but raking is better for the final finish because it keeps the surface loose and consistent.
Check the depth in several locations as you work. A simple marked stick or tape measure is more reliable than judging by eye. Pay particular attention to high-traffic areas under swings, at slide exits, near climbing walls, and around access points. Those areas will need routine raking and occasional topping off because loose-fill material naturally shifts with use.
Keep mulch away from moving playset components, including swing chains, anchors, and rotating accessories. If your equipment has exposed footings, follow the manufacturer’s guidance on surfacing around them. The goal is a smooth, continuous surface without hidden obstacles, holes, or abrupt changes in depth.
Do Not Treat Decorative Mulch as Certified Safety Surfacing
Rubber mulch can be part of an attractive, lower-maintenance backyard play area, but it has trade-offs. It can cost more upfront than wood mulch, may become hot in direct summer sun, and can be difficult to remove later if you change the landscape. Some families prefer engineered wood fiber for a more natural look, while others select unitary rubber surfacing for areas requiring a stable, accessible surface.
For schools, churches, childcare centers, and public-facing playgrounds, surfacing decisions should be based on the full site plan, equipment fall heights, accessibility needs, drainage, and applicable safety standards. A loose-fill product’s performance depends on the complete system and its installed, maintained depth. Never assume that a bag label alone makes a surface appropriate for every piece of playground equipment.
For backyard families, the same principle applies on a smaller scale: buy for the level of protection and maintenance you are prepared to provide, not just for color or price.
Maintain the Surface Through Every Season
Rubber mulch does not rot, but it is not maintenance-free. Walk the area regularly and rake displaced material back into thin spots. Remove leaves, branches, toys, and other debris before they become mixed into the surface. After storms, inspect drainage and look for washed-out edges or areas where the base has settled.
In warm weather, touch-test the surface before play, particularly in sunny areas. Dark-colored rubber mulch can absorb heat. Shade from the playset, trees, or a properly planned shade structure can make the space more comfortable during North Carolina summers.
At least once or twice each year, measure the depth in the highest-use zones and add material where needed. Also inspect the border, hardware, and surrounding ground for hazards. A well-maintained surface should remain level, contained, and free of exposed roots, rocks, or playset anchors.
A premium play area deserves the same thoughtful planning as the play equipment above it. If you are unsure which surfacing approach fits your yard, equipment, or safety goals, Rainbow Play of NC can help you think through the details before installation day, so your family can spend more time outside playing and less time fixing the ground beneath them.